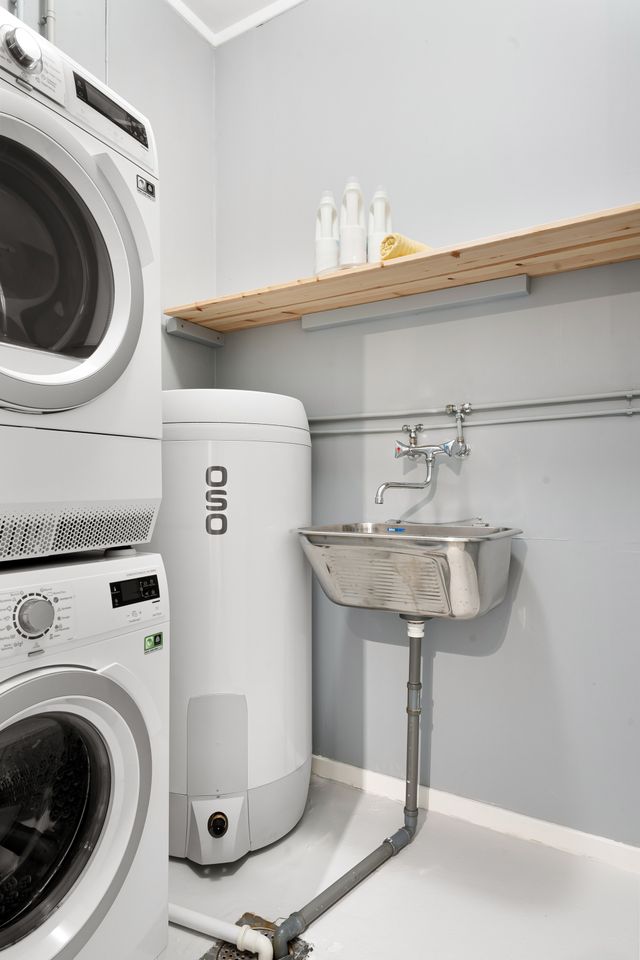
I walked into the garage, set a box against the wall, and saw a puddle on the floor. At first, it seems harmless: it could have come from anywhere—maybe water was tracked in from outside, or something was spilled earlier. But then you notice that the wet spot appeared right under the water heater, and it becomes clear: this kind of thing doesn’t usually happen on its own.
When you start looking for the cause, it’s easy to think you can fix the problem without a plumber. Just place a container underneath, tighten the valve, wipe up the water, and see what happens next. Sometimes that’s really all it takes. But a leak in a water heater can occur for various reasons: from a drain valve that isn’t closed properly to a worn-out gasket, sediment in the tank, or damage to the tank itself. This means the approach to fixing it must vary accordingly.
Why is water leaking from the water heater’s drain valve?
The drain valve is located at the bottom of the tank, so a puddle under the water heater immediately points to it. But water can be deceiving: it can run down the side of the unit, collect at the base, and make it look as though the valve is to blame.
If the source is indeed there, a leak from the water heater’s drain valve most often starts for a simple reason: the valve isn’t closed tightly, sediment is stuck inside, or the seal is no longer holding the water properly.
That’s why a leak in a water heater valve isn’t always fixed with a single step. First, you need to figure out whether the water is dripping from the spout, from the threads, or running alongside the tank.
Common Causes of Drain Valve Leaks
Such leaks rarely follow a “one-size-fits-all” pattern. Although on the surface everything looks the same: water pools at the bottom, the valve is wet, and a stain appears under the tank.
But the cause could be the position of the handle, the seal, sediment buildup, or the age of the water heater itself. In this case, it’s important not to guess, but to diagnose the problem based on specific symptoms.
The drain valve isn’t closed tightly or is partially open
After draining or flushing the tank, the valve is sometimes not closed all the way. The handle seems to be in place, but a small gap remains inside, and water begins to drip through it. This type of leak from a water heater drain valve is usually not noticeable right away: first, the spout gets wet, then a trail appears on the body or a wet spot on the floor.
If the valve is simply not closed all the way, you can gently return it to the correct position. But if water continues to leak even after that, it’s best not to rely on brute force to fix the water heater valve leak: an over-tightened or old valve can easily be damaged further.
Worn or damaged valve seal
Inside the drain assembly, there is a seal that is supposed to tightly shut off the water flow. Over time, the rubber hardens, shrinks, cracks, or no longer seals properly against the area where the flow should stop completely. Therefore, a worn-out gasket is often the cause of a water heater valve leak.
From the outside, this doesn’t look like a “powerful stream” but rather just a few drops that reappear even after the floor has been wiped dry. If the seal is no longer holding, repairing a water heater leak usually involves replacing the faulty part. And trying to tighten the valve further only makes things worse.
Sediment buildup inside the tank
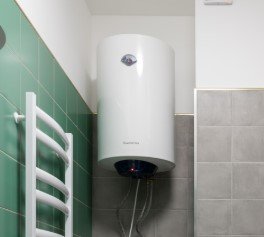
Neither tap water nor well water is ever perfectly clean. Minerals, fine sand, and rust particles enter the tank along with the water. Over time, all of this settles at the bottom. When sediment in the water heater tank reaches the drain assembly, it can prevent it from closing tightly.
And as we know, water always finds a way to seep through. All advice on water heater maintenance usually involves not just checking the valve, but a set of measures, the first of which is regularly flushing the tank before the buildup begins to interfere with the system’s operation.
Corrosion or Aging of Components
In an old water heater, it’s not just the drain assembly itself that wears out. The metal around the joints, the threads, the inside of the tank, and small parts are gradually exposed to water, minerals, and temperature fluctuations. Therefore, rust stains, a wet base, and constant dripping are signs that the water heater needs to be replaced.
But it’s important not to misdiagnose the problem here. It’s one thing when a replaceable part is leaking. It’s another when water is coming from the tank’s body or the bottom of the tank. A leaking water heater tank usually can’t be fixed with a patch; in such a situation, replacing the entire system is the solution.
Signs of a Leak in Your Water Heater’s Drain Valve
The first signs of a water heater leak include a wet spot at the base, drops on the drain valve spout, a wet trail down the body of the unit, or rusty deposits near the connection. Sometimes water only appears after heavy use of hot water, so it’s important to check the floor not just once, but after a few hours.
If you notice a leak at the bottom of the water heater, it’s important to look beyond just the puddle itself. Constant dripping, damp insulation, signs of corrosion, and reduced water heating efficiency may indicate that the problem is already affecting the system’s performance—not just making a mess on the floor.
How serious is a leak from the drain valve?
If a drop appears from the valve once every few minutes, it’s not yet a disaster. But even something this minor requires attention: the main causes of water heater leaks include not only a weak seal or sediment but also pressure, corrosion, or tank wear.
You can gauge the severity by how the water behaves. A damp valve nozzle is one thing. It’s another matter entirely when the puddle keeps growing, water is flowing constantly, the tank is rusting, or the wall next to the tank is already getting wet. In such a situation, it’s best not to wait until emergency repairs are needed—call a professional right away. And the sooner, the better.
What to Do Immediately If You Discover a Leak
First and foremost—don’t panic. Move any boxes, tools, household cleaning products, and anything else that might get wet out of the way. If water is already spreading across the floor, mop it up with a towel or place a container under the drip to see if the leak is getting worse.
After that, it’s best not to start taking apart the water heater at random. Hot water, pressure, and electricity or gas near the tank aren’t the best starting conditions for someone doing this for the first time without specific knowledge, skills, or experience. It’s safer to shut down the system and do the following:
Turn off the power and water supply
If there’s already water near the tank, your first priority should be safety, not repairs. For an electric model, it’s crucial to cut off the power; for a gas model, don’t touch the burner or adjust the settings without understanding how the system works. Shutting down the water heater reduces the risk of electric shock, burns, and the unit running dry.
Next, shut off the water supply to the tank, provided the valve is easily accessible and you can do so safely. While these safety measures do not fix the cause of the leak, they help prevent the situation from getting worse until you can inspect the unit or a plumber arrives.
Inspect the area around the drain valve
Once the power and water have been shut off, you can safely check exactly where it’s wet. It’s important to inspect the drain valve nozzle, the threads, the area around the connection, and the floor beneath the tank. This simple step is part of troubleshooting a water heater, because without it, you could easily end up “treating” the wrong “problem.”
If water is pooling below but the valve itself is dry, the cause may lie elsewhere. A leak at the bottom of the water heater is particularly troublesome because it visually resembles a drain problem, although it sometimes points to an issue with the tank, corrosion, or hidden leakage down the side of the unit.
Avoid temporary DIY fixes for major leaks
If water isn’t just dripping but is already flowing noticeably, temporary fixes like tape, sealant, or tightening the connection too much can only make the situation worse. In such cases, water heater repair begins not with an attempt to seal the gap, but with checking the pressure, the condition of the tank, and the drain assembly itself.
It’s especially dangerous to tamper with old connections if there’s already rust around them or if water is leaking from multiple places. Fixing a leak in a water heater valve only makes sense when you’re certain that it’s the valve itself that’s leaking, and not the tank or an adjacent component.
Temporary Solutions vs. Permanent Measures
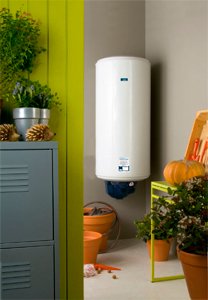
The task for the next few minutes is simple: stop the water, protect the floor, and prevent the puddle from spreading throughout the garage or basement. To do this, you can place a container under the leak, wipe up the water, check to see if a valve has been left slightly open, and watch to see if any new drops appear.
But a temporary fix doesn’t answer the main question: why did the water leak out in the first place? If the problem is a gasket, sediment buildup, an old valve, or corrosion near the tank, the puddle will return. Therefore, after the initial check, you still need to decide whether a careful adjustment will suffice or if it’s time to replace the part.
Tightening or Re-sealing the Valve
When water appears right at the drain assembly, the first instinct is understandable: just tighten it a little and forget about it. And it works, especially if the handle wasn’t fully closed or the connection had loosened slightly. But repairing a water heater drain valve shouldn’t turn into a battle with metal: excessive force can strip the threads and make the leak worse.
Re-sealing only helps when the problem is actually at the connection, not inside the tank or the part itself. That’s why fixing a water heater leak starts with checking the water source, and only then with re-sealing, tightening, or replacement.
Replacing the Drain Valve
If the valve is old, cracked, fails to hold water after being closed, or leaks again after being resealed, temporary fixes are no longer effective. In such a situation, the only solution is to replace the water heater’s drain valve.
But you should replace the part carefully. There is hot water remaining in the tank, there may be pressure on the connections, and old plastic or metal sometimes breaks when you try to unscrew the part. With this in mind, it’s safer to have a plumber replace the water heater valve (especially if the unit is old or hasn’t been maintained in a long time).
When to Call a Professional Plumber
You shouldn’t wait until water is already gushing out to call a plumber. If water keeps dripping after you’ve turned off the valve, the puddle keeps getting bigger, there’s rust around the connection, or the tank is old, trying to fix it yourself quickly turns into a gamble. In these cases, a plumber is needed to check not just one valve, but the entire lower part of the system when your water heater is leaking.
Don’t attempt to fix the unit if it’s hard to access, if there’s a gas line nearby, if the wiring is wet, or if there are old connections that could fall apart from excessive force. In such cases, water heater repairs start with diagnostics, because a recurring leak often indicates a deeper problem rather than simply a lack of skill.
How Pryde Group Can Help with Water Heater Problems
A Pryde Group technician checks exactly where the leak is coming from: the drain valve, a connection, the safety assembly, or the bottom of the tank. At the same time, they check for corrosion, pressure marks, and signs that the problem might recur.
If the valve is the cause, it’s carefully removed, a suitable replacement is selected, and it’s installed without misalignment or excessive force. After the repair, a mandatory check is performed: does it leak again, is the connection secure, and is there any moisture nearby? This way, the customer receives not just a cosmetic fix, but a proper solution that allows the system to continue operating smoothly.
How to Prevent Leaks in a Water Heater Drain Valve
It’s better not to wait until the puddle returns. Simple water heater maintenance tips work better here than a belated repair: check the valve after draining, look for rust at the connections, and don’t ignore the first few drops. The tank should be flushed periodically, especially if the water is hard and mineral deposits build up quickly at the bottom.
Preventing water heater leaks relies on regular inspections, not on applying sealant after a leak occurs. Once a year, have a plumber inspect the system: they’ll check the drain valve, pressure, and the condition of the tank and surrounding components. This way, a minor problem won’t have time to turn into a wet floor and an urgent equipment replacement.