A shower faucet is something that gets used very often. And it’s no surprise when the handle starts to feel stiff, the water doesn’t mix evenly, the water pressure acts up, or a drip appears somewhere nearby – as if it deliberately chooses the quietest time of day. After all, everyone who lives in the house uses it, often a couple of times a day.
The good news is that some of these problems are quite fixable—and not complicated at all. But sometimes the old unit has simply reached the end of its life: gaskets won’t save it, the valve is worn out, the body is damaged, and a repair turns into a brief respite before a new leak. In this case, the only solution is to replace the faucet.
But when should you replace a shower faucet? What tools will you need? How do different types of valves differ? How is the installation done, and in what cases is it better not to test your plumbing skills yourself? Let’s figure it out!
When to Replace a Shower Faucet
Sometimes it’s easier to install a new unit than to keep patching up the old one. Replacing the shower faucet is a logical step when the problem returns after repair, the adjustment is unstable, or there’s a risk of hidden leaks behind the finish.
Constant Leaks and Dripping
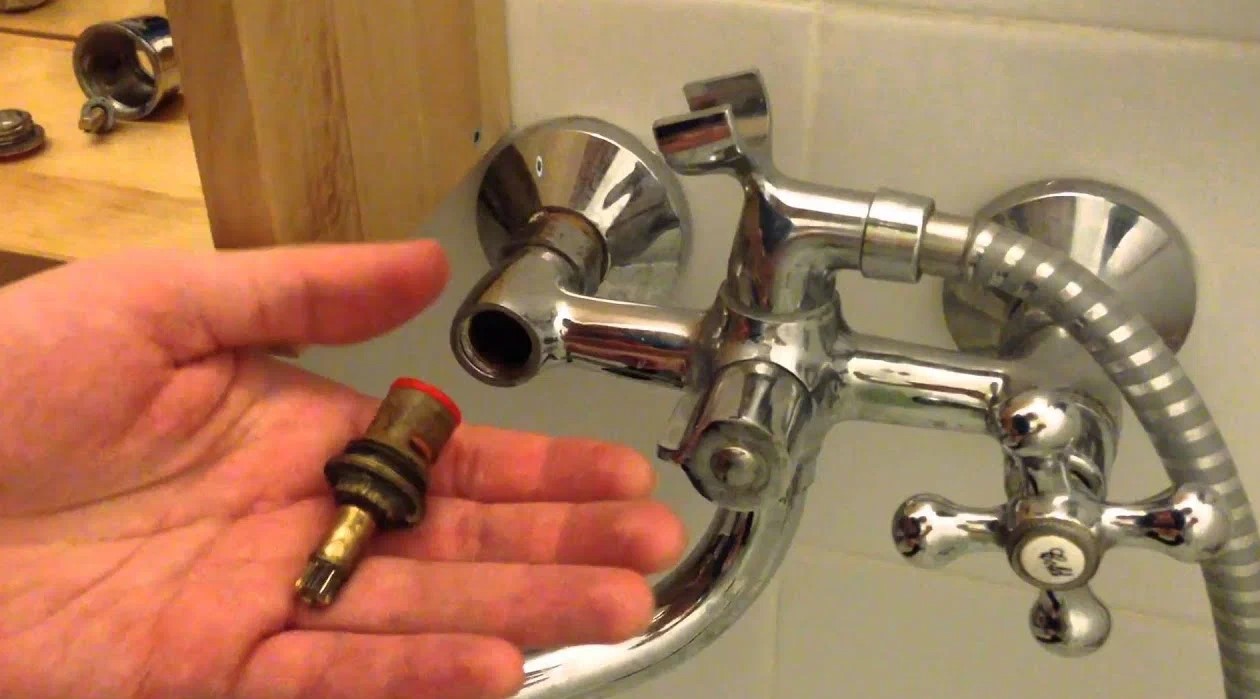
If the shower faucet drips even after being turned off, this is no longer a matter of minor adjustment. Internal components are wearing out, and water is leaking where it shouldn’t. Attempting to repair a leaky shower faucet makes sense as long as the wear is localized. When the unit itself is worn out, the effect of the repair quickly wears off.
Problems with low water pressure or temperature
Uneven water pressure and temperature fluctuations are often related to the valve. In such cases, replacing the shower valve helps restore stable system operation. This is especially noticeable when the flow behaves unpredictably and problems with water pressure in the shower arise.
Outdated or damaged faucets
Over time, an old faucet becomes annoying not only in appearance but also in use. The handles wobble, the finish peels off, the adjustment becomes imprecise, and the unit itself behaves unpredictably. In such a situation, upgrading the shower faucet is no longer about aesthetics but about proper function.
If the wear and tear goes beyond cosmetic issues, there’s no point in delaying. Replacing the old shower faucet allows you to resolve the accumulated problems immediately and avoid having to deal with them again in a couple of months.
Tools and materials needed for the replacement
It’s best not to wing it with this kind of job: once the faucet is already disassembled, it’s too late to start searching the apartment for a wrench, a gasket, or the right screwdriver—and this is exactly where DIY shower faucet replacements often hit a snag. So before you begin, make sure to gather everything you absolutely need to get the job done:
- An adjustable wrench or a set of wrenches;
- Electric screwdriverl with bits or manual screwdrivers compatible with your model’s fasteners;
- Pliers;
- Teflon tape or another sealant;
- A new faucet and, if needed, a new valve;
- A level for precise installation of external components;
- Rags and a container for leftover water.
These are the basic tools for installing a shower faucet, which are sufficient for a DIY replacement. However, if there are old connections behind the wall, a non-standard fit, or traces of previous modifications, additional, more specialized tools will be required.
Types of Shower Mixers and Valves
Before replacing the mixer, it’s helpful to understand exactly what you currently have. From the outside, mixers may look similar, but their internal mechanisms can vary, and this affects both the disassembly process and the selection of a new unit.
Single-handle and dual-handle mixers
A single-handle shower mixer controls both water pressure and temperature with a single motion. It is convenient to use, and the appearance of such models is usually simpler and more modern. But inside, everything relies on a single working unit, and if it starts to malfunction, the problem is immediately felt throughout the entire control system.
A two-handle shower mixer has a more familiar design: one side controls the hot water, the other the cold. Many people find these systems easier to understand, but when it comes to replacement and adjustment, they have more individual components where play, wear, or leaks can develop over time.
Types of Shower Valves
Different types of shower valves behave differently in real-world use. Some simply maintain a more stable water pressure, while others better regulate temperature and cause less frustration when someone in the house suddenly turns on the kitchen faucet.
Shower mixing valves also fall under this category. If the system is old, the valve itself is often the source of temperature fluctuations, weak flow, and imprecise control. Therefore, before buying a new mixer, it’s important to understand whether only the external part is being replaced or the entire working unit.
How to Replace a Shower Faucet (Step-by-Step Guide)
The replacement process itself follows a straightforward sequence: safety first, then disassembly, followed by installation, and a final check. Problems usually arise not because the steps are complicated, but because of rushing, so it’s best not to skip any steps.
Turn off the water supply
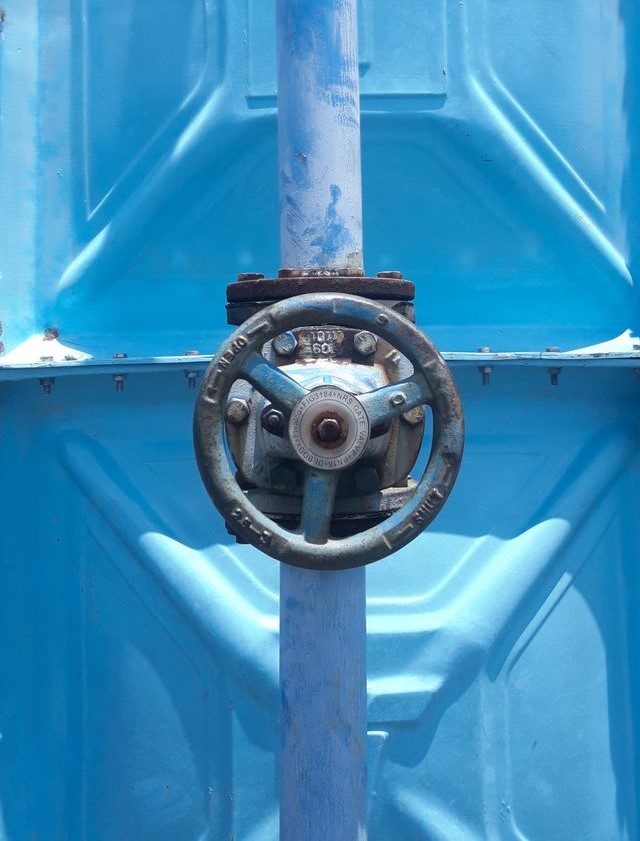
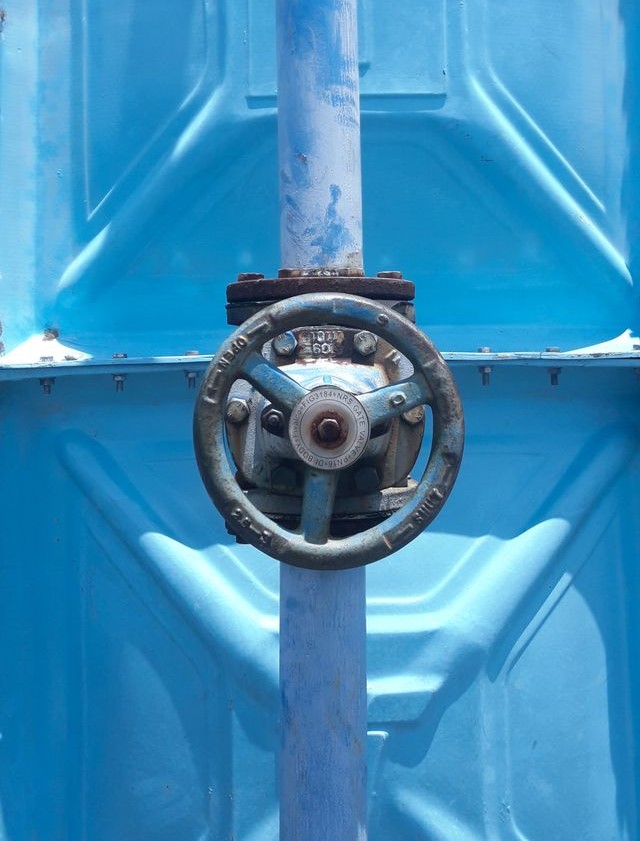
Before turning off the water before connecting the plumbing, it’s best to make sure that the shut-off valves are actually accessible and working. This is a basic safety measure when repairing a shower; without it, even a simple replacement can quickly turn into a wet and expensive surprise.
Remove the old faucet
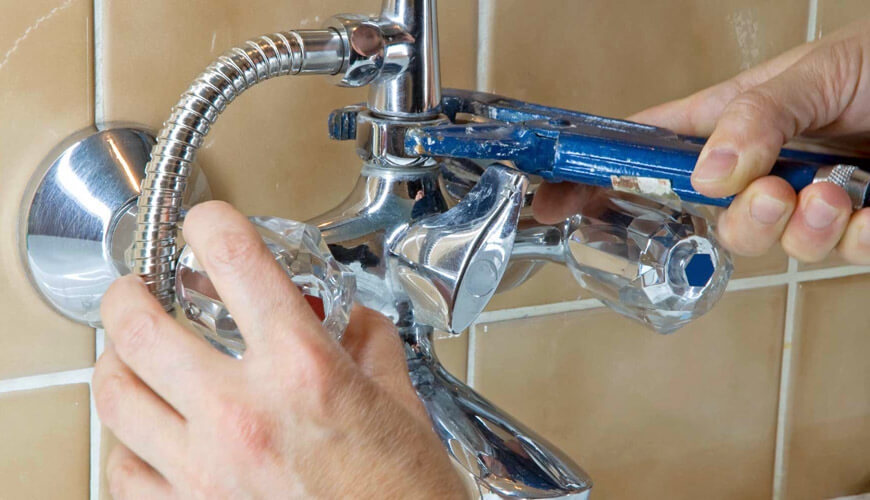
After turning off the water, remove the handles and decorative covers to access the fasteners. If you need to remove the old shower faucet, proceed carefully: old parts often get stuck, and excessive force can damage the threads or finish.
Sometimes at this stage you’ll also need to replace the shower head if the problem wasn’t just with the exterior but with the entire control assembly.
Install the new faucet and valve
Install the new set, taking into account the fit, depth, and position of the connections. Installing a new shower mixer requires not only assembling the parts according to the instructions, but also checking whether the front panel is level and whether there is any strain on the connections.
If not only the external part but also the internal assembly is being replaced, it is crucial to install the shower mixer carefully, ensuring proper alignment of the valve, supply lines, and decorative elements.
System Check
After assembly, turn on the water gradually, without sudden pressure. This check of the shower faucet installation immediately reveals any play, misalignment, or issues with temperature mixing.
At this same stage, a routine check for leaks in the plumbing is also necessary. A small drip after installation doesn’t seem like a big deal, but it’s precisely these little things that later lead to wet walls and having to take everything apart again.
Common mistakes to avoid when replacing
Most often, people make mistakes not with the mixer itself, but because they’re confident that “everything is obvious anyway.” But the most frustrating thing is when simple mistakes made during shower faucet installation only become apparent after assembly: the connection was tightened too much, the valve is uneven, the decorative part was installed neatly but without considering the depth, and as a result, water either leaks or doesn’t work as it should.
Added to this are more general mistakes made during DIY plumbing installation. People often install a new unit onto old, problematic connections, ignore the condition of the pipes behind the wall, or rush to cover up all the external parts before a proper check. On the surface, the job seems finished, but in reality, the problem simply hides inside the wall and waits for the right moment.
DIY Installation vs. Professional Installation
In simple cases, replacing a shower faucet yourself does make sense. If access is easy, the pipes are in good condition, the model is straightforward, and there’s no hidden valve in the wall, you can handle the job without outside help. But only under one condition: you understand exactly what you’re replacing and where the external part ends and full-fledged plumbing work begins.
When it comes to old piping, corroded connections, or replacing an internal component, having a plumber install the shower faucet is the safer option. Here, you’re not just paying for speed, but for the fact that a professional can spot potential risks in advance: loose threads, a poor fit, a possible leak behind the wall, or incompatibility between the new kit and the old system.
When to Call a Professional Plumber
There are situations where it’s best to call for help right away. For example, if:
- The plumbing behind the faucet is old;
- The valve is hidden deep inside the wall;
- There were hidden leaks before the replacement;
- Upon disassembly, it became clear that the connections have long been at their limit.
This is where professional plumbing services are needed. Not because it’s “safer” in a general sense, but because the cost of a mistake here will be much higher than the cost of a “standard” service call.
The same applies to cases where a shower valve inside the wall needs to be replaced. On the surface, this work looks like a routine faucet replacement, but in reality, it can affect pipe connections, installation depth, and the surrounding finish. If a mistake is made here, you’ll end up having to repair more than just the plumbing.
How Pryde Group Can Help with Shower Faucet Replacement
When a faucet is malfunctioning, the most important thing is to identify the exact source of the problem: is it the handle, the valve, the connection, or something deeper, behind the wall? At Pryde Group, we don’t guess based on the sound of the water flow or the appearance of a drip; we take it apart on-site to ensure the replacement doesn’t result in a follow-up call a week later.
That’s why our work focuses on what truly matters:
- Accurate diagnosis of faucet and valve malfunctions.
- Safe and professional installation.
- Modern and more efficient shower area upgrades.
- Long-term reliability and warranty service.
The idea is simple: not just to install a new faucet, but to ensure it operates smoothly afterward, without any hidden surprises in the wall.
Tips for Extending the Lifespan of Your Shower Faucet
A faucet doesn’t age suddenly. But it gives advance warning that it’s struggling: the handle becomes stiffer, the temperature is harder to control, and moisture appears at the joints. And proper maintenance of a shower faucet boils down to simple things: don’t ignore the first signs of wear, don’t over-tighten parts during minor repairs, and don’t let scale and dirt build up around the moving parts.
If you treat this as a regular habit, preventing shower faucet leaks turns out to be much cheaper than replacing the finish after a hidden leak. After every replacement or repair, it’s best to test the faucet under pressure again and not dismiss a single drop as a minor issue.