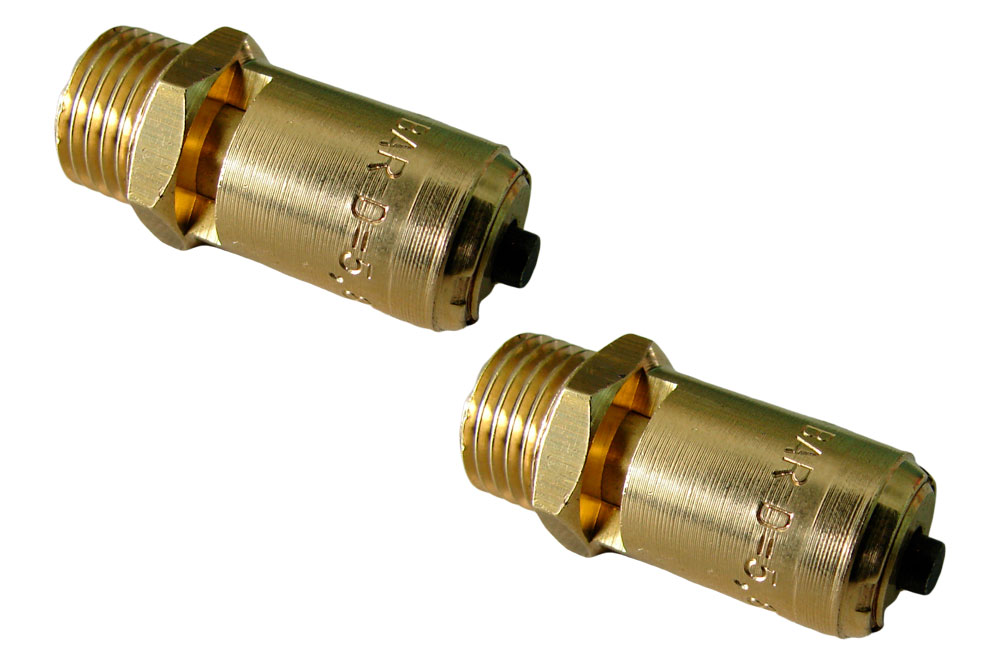
A water heater looks harmless: it sits in a corner, heats water, and requires almost no attention. But inside the tank, high temperature and pressure are constantly at play. If either parameter exceeds acceptable limits, the stress on the tank, pipes, and connections begins to increase. To prevent the situation from escalating to a tank rupture or other serious accident, the safety valve must relieve excess pressure in a timely manner.
The safety of the entire system depends on its proper functioning, so you must not neglect to check this component. However, simply pulling the lever to see what happens is a bad idea: scalding water may gush out of the relief pipe, and an old or corroded mechanism sometimes fails to close properly. So let’s figure out where to find the valve, how to prepare the water heater for inspection, and what signs indicate that it’s time to replace the part.
What is a water heater safety valve?
When water is heated, it expands, and the pressure inside the sealed tank increases. As long as the system is operating normally, this pressure remains within acceptable limits. But in the event of a thermostat malfunction, water supply issues, or other abnormalities, the pressure can continue to rise. At that point, the water heater’s safety valve opens the outlet to the drain pipe and releases some of the hot water.
More precisely, this component is called a temperature and pressure relief valve. It monitors both of these critical parameters and activates before the pressure becomes critical for the tank and its connections.
During normal operation, the valve is closed. Water should not flow from it continuously, and the lever should move freely without jamming. Corrosion, continuous dripping, or a failure to release during testing may indicate a malfunction.
Why You Might Need to Open the Safety Valve
Most of the time, the valve remains stationary. Mineral deposits gradually build up on its internal parts, which can cause the mechanism to lose mobility. Therefore, during a routine inspection, it is important to check the water heater’s safety valve and ensure that water flows freely through the drain pipe.
This procedure should be performed after a long period of inactivity, before resuming active use, or during routine maintenance of the water heater. If the lever is rusted, there is already moisture under the valve, or the housing is visibly damaged, you should not open it yourself.
Safety Precautions Before Opening the Valve
The valve releases water from a pressurized tank, so this procedure should not be treated like simply turning on a faucet. Before you begin, make sure the drain hose is securely fastened, its end is directed toward a safe area, and there are no children, pets, or objects nearby that could be damaged by hot water.
Turn off the power or gas supply
For an electric water heater, turn off the power at the circuit breaker panel; for a gas water heater, switch it to a safe mode according to the manufacturer’s instructions. This will stop the heating process during the inspection and reduce the likelihood that the burner or heating elements will turn on while you are working near the valve.
Do not disassemble the unit or touch the wiring, gas fittings, or other components. If you cannot safely shut off the equipment, it is best to postpone the inspection until a plumber arrives.
Be aware of the risks associated with hot water
Even after the water heater is turned off, the water inside the tank remains hot. When you lift the lever, the water may suddenly gush out through the drain pipe along with steam; therefore, do not place your hands under the stream, lean toward the outlet, or direct the flow into a plastic container not designed to withstand high temperatures.
The water heater safety check should be performed from a safe distance and with the drain open. If the drain pipe is missing, damaged, or directed toward a location where the flow could cause harm, you must first fix the drain.
This attention to preparation is part of routine water heater maintenance. Taking a few minutes to check the conditions is safer than trying to quickly open the valve and risking a burn or flooding the room.
How to Open the Safety Valve
After preparing, there’s no need to unscrew any parts or disassemble the water heater. The check is performed using the standard lever mounted on the valve body. All movements should be smooth, without jerks or attempts to force a seized mechanism with a tool.
Locate the valve
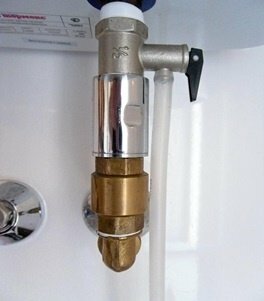
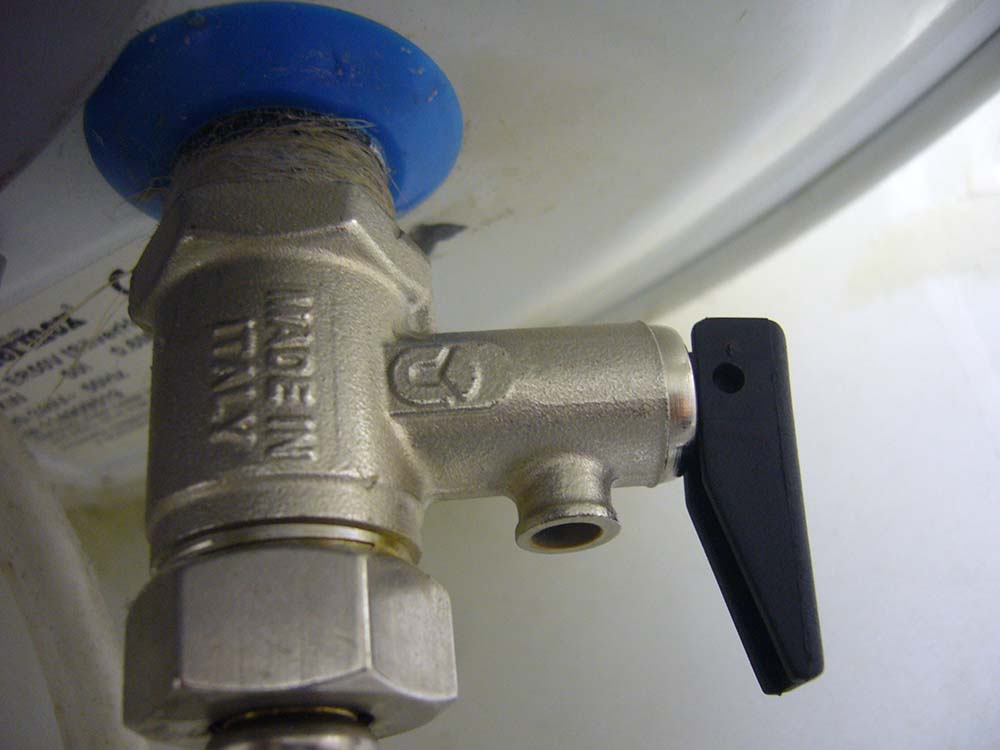
It is usually located at the top of the tank or on the side, closer to the top edge. A drain pipe pointing downward is attached to the metal valve housing. Next to it is a small lever, which is used for testing.
Do not confuse it with the drain valve at the bottom of the water heater. The drain valve is used to empty the tank, while the water heater’s safety valve releases water only in the event of a dangerous rise in temperature or pressure.
Carefully lift the test lever
Before figuring out how to open the safety valve on the water heater, make sure once again that no one is standing near the end of the discharge pipe. Then slowly lift the lever. Water should come out of the pipe, sometimes with a noticeable noise due to the pressure inside the tank.
You don’t need to hold the lever open for long. A brief release is sufficient to verify that the internal mechanism is moving and that the drain pipe is not blocked. If the lever won’t budge, do not pull on it with pliers or try to force it open.
Release the lever and check its operation
Release the lever and let it return to its original position on its own. The flow should stop, although a few remaining drops after the test are acceptable.
To understand how to check the water heater valve, inspect its installation site and the end of the drain tube after a few minutes. A constant drip indicates that the valve has not closed completely or that there is still excess pressure in the system.
If no water flows at all, the lever is stuck, or the valve continues to leak, do not repeat the test multiple times. These signs require further diagnosis, as a malfunctioning mechanism can no longer be considered a reliable safeguard.
Signs of a Possible Safety Valve Malfunction
After checking, the lever should return to its original position, and the water flow should stop. A few drops immediately after closing are acceptable, but a constant leak from the safety valve requires attention: the cause could be either wear and tear on the part or excessively high pressure inside the system.
You can tell that the safety valve is faulty by several signs:
- The lever does not lift or requires significant force to move;
- The valve does not close after being released;
- No water comes out during testing;
- Rust and corrosion are visible on the body;
- Water is constantly dripping from the drain tube.
You shouldn’t try to determine the cause of the constant pressure relief on your own. Pressure issues in a water heater may be related to system settings, thermal expansion of the water, or other components, so simply replacing the valve doesn’t always solve the problem.
Common Mistakes to Avoid
Checking the valve takes only a few seconds, but that is precisely why people often treat it too carelessly. Meanwhile, this mechanism operates with hot water under pressure, and trying to rush the process can result in burns or damage to the part.
When troubleshooting a water heater on your own, you should not:
- Lift the lever without turning off the water heater;
- Stand near the end of the outlet pipe;
- Force a stuck lever open with your hands or a tool;
- Try to manually press the valve closed if it hasn’t closed on its own;
- Ignore a constant drip after checking the valve.
It is especially dangerous to dismiss a leak as a minor issue. Water may be leaking due to valve wear, but it can also be caused by high pressure in the system. Therefore, repairing a water heater in such a situation should begin with a diagnosis, not with an attempt to tighten the valve further or plug it shut.
When to Call a Professional Plumber
Checking the lever answers only one question: whether the valve is capable of releasing water and closing again. It won’t reveal why pressure is rising in the system, how worn the tank is, or whether it’s safe to replace the part. Several signs immediately indicate that the problem goes beyond a routine check:
- The valve won’t open or continues to leak after being checked;
- Water appears on the tank body or near the connections;
- Pressure issues recur;
- Corrosion has formed around the tank;
- The unit hums, knocks, or makes other unusual noises;
- The old water heater has not undergone a comprehensive inspection in a long time.
If you notice these symptoms, professional water heater service is required. A specialist will inspect the valve, pressure, tank, and connections to identify the root cause of the malfunction, rather than merely addressing the outward symptom.
Replacing the safety valve yourself is not the best idea. In such cases, it’s also advisable to consult professionals who are familiar with both diagnostic methods and safety protocols.
How Pryde Group Can Help
Replacing the valve without further investigation is a bad strategy. The new part will also start to leak or drain water if the pressure in the system remains too high or if the problem lies within the water heater itself. That’s why at Pryde Group, we first determine exactly what is causing the safety mechanism to malfunction.
During service, a plumber can:
- Check the condition of the tank and supply pipes;
- Measure the pressure in the plumbing system;
- Inspect the valve and the drain line;
- Install a new part to replace the damaged one;
- Repair any leaks found;
- Perform preventive maintenance on the water heater.
The work is performed by licensed professionals. After diagnosis, the owner receives a clear solution for the specific problem, rather than having functional parts replaced just in case.
Tips for Safe Water Heater Operation
Most problems don’t develop overnight. At first, there’s a slight drip, the water takes longer to heat up, and unusual noises come from the tank. If you notice these changes right away, you won’t have to put off water heater maintenance until a serious breakdown occurs.
Simple habits can help extend the equipment’s service life:
- Do not set the temperature higher than necessary for household use;
- Ensure unobstructed access to the tank, valve, and drain pipe;
- Periodically inspect the floor and connections for moisture;
- Make sure the valve drain is not blocked or pinched;
- Remove sediment from the tank according to the manufacturer’s instructions;
- Do not ignore unusual noises, rust, or frequent water discharge.
Older equipment requires special attention. A routine safety inspection of the water heater allows you to assess the condition of the tank, connections, and safety components before a minor defect turns into a leak or a system failure.