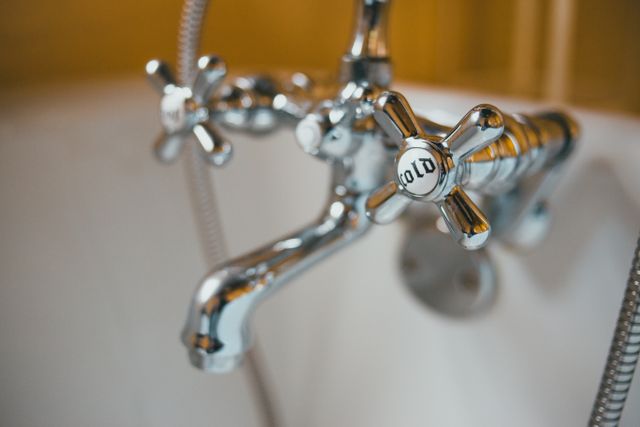
If you were to rank the rooms in a house, the bathroom would almost always be near the top. We bathe every day and rarely stop to think that high humidity, temperature fluctuations, soap, and minerals from the water build up on all surfaces. The walls, floor, and ceiling usually handle this just fine, but the faucet takes the brunt of it: limescale builds up faster, the handles become stiffer to turn, the metal darkens, and leaks eventually start to occur.
Unfortunately, many people only think about it during a deep cleaning. And everything that remains on the body, around the spout, and at the base of the handles for weeks on end shortens the faucet’s lifespan and brings closer the moment when it will need to be replaced.
Some homeowners decide to save money and tackle the job themselves. Is this realistic? Absolutely. Is it worth it? Not always. If you’ve made up your mind, it’s best to understand in advance how to replace a bathtub faucet and in which cases doing it yourself might lead to unnecessary expenses.
When should you replace a bathtub faucet?
Replacing the entire system—whether it’s the gasket, cartridge, handle, or connection—isn’t the best move. But if the problems persist even after repairs, and the faucet itself looks like it’s survived the apocalypse, replacing the bathtub faucet becomes the only sensible solution.
Constant Leaks and Dripping
A leaky bathroom faucet doesn’t just drip into the drain—it drips on your nerves: at night you can hear every drop, in the morning you see a film on the surface, and the water meter (albeit slowly) keeps running even when no one is using the faucet.
But the real issue is this: constant dripping usually means that the internal parts are no longer shutting off the flow properly. And if repairing the leaky bathroom faucet didn’t solve the problem, there’s only one conclusion—it’s time to replace it.
Corrosion and visible damage
Not everyone can remember exactly when their old bathroom faucet was installed. Especially if it’s working fine and isn’t causing any problems. But as soon as something breaks, people realize with horror that it was a very long time ago—especially when they see rust and white mineral deposits on its surface.
And when cracks, chips in the finish, a warped spout, or a wet stain near the body are added to the mix, what we’re looking at is no longer just an old bathtub faucet—it’s a damaged one.
You can clean and spruce it up as much as you like, but a worn-out body and damaged connections won’t improve its appearance and will keep throwing “wet surprises” your way.
Outdated Style or Functionality
A breakdown is, of course, a compelling reason for replacement. But more often (or at least just as often), a new unit is installed during a renovation. And that’s where trends come into play: a modern bathtub faucet may be more convenient, have a sleeker design, and better complement the decor. But you should choose it based on the type of installation and connection, not just on its appearance.
And if you’ve already installed one but, while using it, have noticed awkward handles, difficulties adjusting the water temperature, or simply the physical weight of the fixture—which is causing the tiles to crack—your solution is to upgrade your bathtub faucet: adding features, removing parts, or relocating it—all of this is possible.
Types of Bathtub Faucets
You shouldn’t choose a faucet based solely on its shape, color, and price. First, you need to figure out where it will be installed and how the water is supplied: from the wall, through the side of the tub, or separately from the floor next to the tub. This determines not only the model itself but also the complexity of replacement and the risk of unpleasant surprises after purchase.
Wall-Mounted Faucets
If the pipes are already coming out of the wall above the bathtub, a wall-mounted bathtub faucet is usually the best choice. It attaches directly to the water outlets, doesn’t take up space on the tub rim, and is suitable for most standard bathtubs in apartments and homes.
Among the various options, wall-mounted models are usually the easiest to identify: the spout and handles are on the wall, and the water flows directly into the tub. That’s why, when comparing types of bathtub faucets, people usually start with these.
Countertop faucets
If the bathtub has a wide rim or a built-in shelf nearby, a rim-mounted bathtub faucet is a good fit for this setup. It doesn’t hang on the wall: the spout, handles, and sometimes a showerhead extend through holes in the bathtub itself or a panel next to it.
Installing a bathtub faucet in this case depends on the existing holes, access from below, and the location of the water supply lines. If an older model was already mounted on the rim, it’s easier to choose a new faucet with a similar mounting configuration.
Freestanding Bathtub Faucets
When the bathtub isn’t against a wall but is positioned closer to the center of the room, a standard wall-mounted faucet is no longer suitable. In this layout, a freestanding bathtub faucet is used: it’s mounted to the floor next to the tub and connected via concealed plumbing.
As a result, the faucet becomes part of the design rather than just a functional element for supplying water. However, a modern freestanding bathtub faucet of this type requires careful planning: it’s important to determine in advance where the pipes run, whether there’s enough space for installation, and whether it will be easily accessible for maintenance.
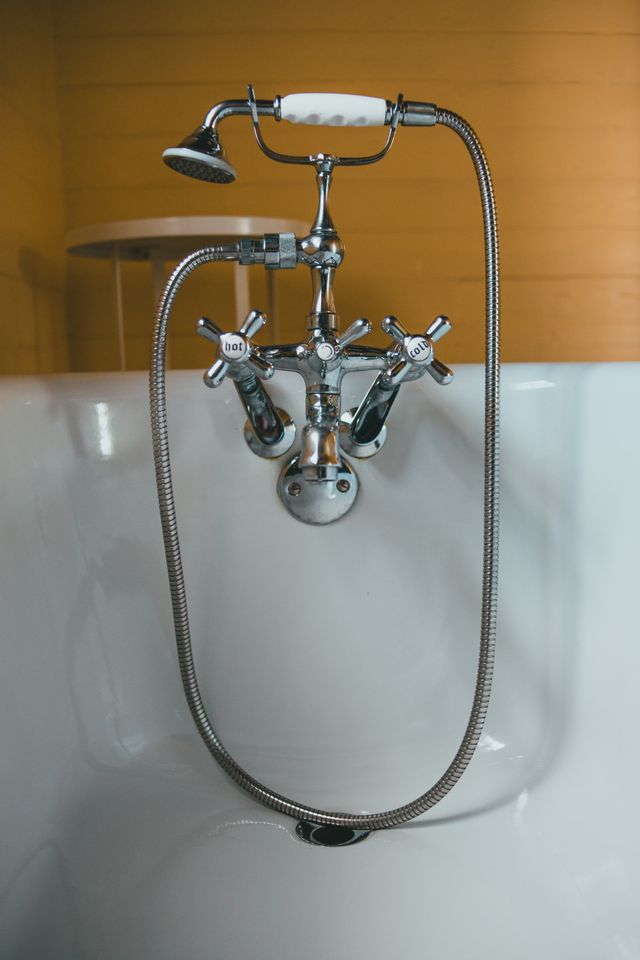
Tools and Materials Needed to Replace a Bathroom Faucet
Replacing a bathroom faucet yourself doesn’t start with unscrewing the old one, but with checking for access. You need to figure out in advance where the water is shut off, whether you can get access to the connections, whether the new faucet matches the old installation layout, and whether you’ll need to touch the pipes inside the wall.
In any case, it’s best to gather the tools for installing the bathtub faucet before you start working, because it’s especially inconvenient to search for missing small parts with the water shut off. In addition to the new faucet, you’ll need:
- An adjustable wrench;
- Screwdrivers;
- Plumbing tape;
- Gaskets and seals;
- Rags or a towel;
- A container for leftover water;
- A flashlight (if access to the connections is poor).
How to Replace a Bathtub Faucet
The process itself is simple only if the new faucet matches the old one in terms of installation type and connections. In that case, the work boils down to a straightforward sequence:
- Turn off the water;
- Remove the old parts;
- Install the new faucet;
- Check the connections and make sure the water flows without leaks.
Complications arise when access is blocked by tiles, the connections are corroded, the holes don’t line up, or you have to replace the spout, valve, supply line, or part of the pipe along with the faucet.
Turn off the water supply
First, turn off the water before starting repairs and open the faucet to release any residual pressure. Do not disassemble the handles or connections while water is still flowing from the spout: even a small stream can quickly turn the bathroom into a wet work area.
It’s best to look up safety tips for working with plumbing fixtures before you start doing anything. This way, you’ll choose the right tools, know that you should always have a towel and a container for excess water nearby, understand that it’s best not to force rusted connections, and realize that continuing the disassembly if something goes wrong isn’t the best solution.
Remove the old faucet components
It’s best to start dismantling the old bathtub faucet with the visible parts: handles, decorative trim, the spout, and fasteners that can be removed without force. If the screws are hidden under caps, carefully pry them loose first, and only then disassemble the assembly.
Replacing the bathtub spout may require a separate procedure. After all, if it’s seized, rotates along with the pipe, or can’t be removed the usual way, it’s best not to force it out to avoid damaging the connection in the wall.
Install the new faucet
Before tightening, “try on” the new faucet: the connections, holes, gaskets, and decorative trim must align perfectly without any misalignment. Installing a new bathtub faucet goes smoothly when the unit sits level and does not pull on the pipes, the side of the tub, or the connections.
After that, tighten the fasteners and supply lines gradually, without using excessive force. The installation of the bathtub faucet should result in tight connections, not stripped threads, a cracked nut, or a warped body.
Checking for Proper Operation
Testing the bathroom faucet begins with the handles: they should move smoothly. Only then should you turn on the water. But don’t turn it on to full pressure right away—do so gradually: the water should flow evenly, and the spout and showerhead should not drip after being turned off.
Next, check for leaks in the plumbing: at the base of the faucet, under the decorative trim, near the spout, and anywhere else you can access the supply line. If you find any moisture, it’s too early to consider the job done.
Common Mistakes to Avoid When Replacing a Faucet
If water collects under the trim, the body is crooked, the spout wobbles, and the connections start to “sweat,” mistakes were most likely made when installing the bathtub faucet. Most often, these are related to choosing the wrong model, over-tightening, using old gaskets, or checking only the visible parts.
But mistakes made during a DIY plumbing installation are especially frustrating: a person sees a dry spout and thinks the job is done, even though moisture may remain behind the trim, under the edge of the tub, or inside the wall. After installation, you need to check every accessible connection and monitor the faucet not for just five seconds, but for a full day, after each time the water is turned on.
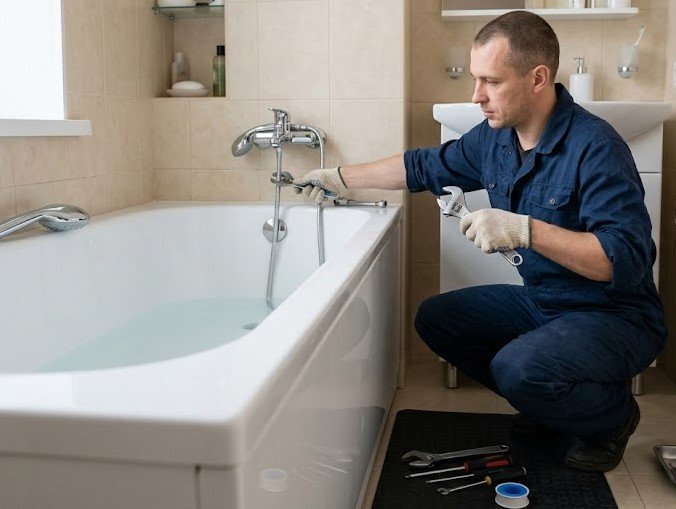
Replacing a Bathtub Faucet Yourself or with a Professional’s Help
Replacing a bathtub faucet yourself makes sense if the old and new models have the same installation type, the water shuts off properly, the connections are accessible, and the pipes aren’t corroded or hidden deep within the wall. In that case, the job is more like a simple part replacement than a full-scale plumbing repair.
But as soon as there’s any doubt about access, the threads, hidden plumbing, the valve, or a leak behind the finish, the cost savings quickly become questionable. Professional installation of a bathtub faucet is necessary when it’s important not just to screw on a new part, but to preserve the pipes, ensure a watertight seal, and maintain normal access to the connections.
When to Call a Professional Plumber
The most common reason is simple: you don’t have the time, tools, or desire to deal with the faucet on your own. In such cases, it’s better to hand the plumbing repair over to a professional right away rather than drag the job out for an entire day and scramble to find the missing wrenches after you’ve already shut off the water.
Everything else usually stems from trying to do it yourself without experience, proper access, or an understanding of exactly what’s broken. If the faucet won’t come off, water is coming out where you didn’t expect it, or the new part doesn’t fit the old setup, bathroom plumbing repairs quickly become more expensive than simply calling a plumber from the start.
How Pryde Group Can Help with Replacing a Bathtub Faucet
If replacing your faucet doesn’t seem like a quick, one-hour job but rather a day filled with shut-off valves, rags, buckets, a mountain of tools, and dozens of YouTube videos starting with “How to fix,” Pryde Group can take care of everything involved in replacing, inspecting, or repairing your faucet and adjacent plumbing fixtures.
Our technician assesses exactly what needs to be replaced, whether the new model is compatible with the existing setup, and checks for hidden leaks, corroded connections, and damage around the installation site.
After that, the work proceeds smoothly: the old faucet is carefully removed, and the new one is installed with proper sealing, alignment, and a post-installation water test. We don’t just “screw it on and leave”; we solve the problem so it doesn’t recur in a few hours, days, or weeks.
Tips for Extending the Life of Your Bathtub Faucet
A new faucet will stay in good working order longer if you remember to take care of it beyond just during a major cleaning. Maintaining your bathroom faucet starts with simple steps: rinsing soap off the body, wiping the metal dry, avoiding harsh abrasives to remove mineral deposits, and not forcing the handles.
This kind of care isn’t just for keeping it shiny. Preventing leaks in your bathroom faucet often starts with the little things: noticing moisture at the base early on, a stiff handle, low water pressure, mineral deposits around the spout, or dripping after turning it off. The sooner you catch these issues, the less likely you’ll have to replace the faucet entirely.