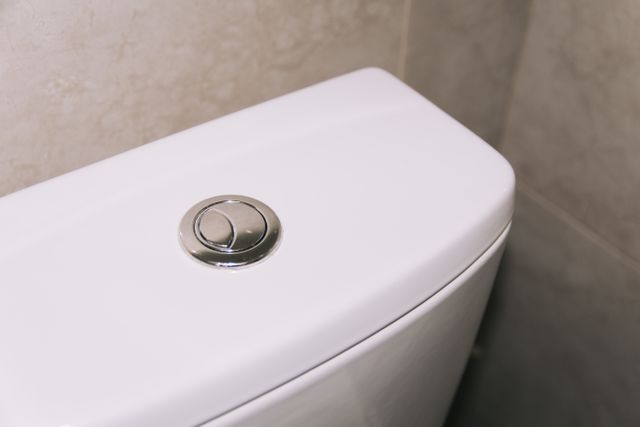
A toilet is one of those things that everyone, without exception, uses. And as long as it works properly, no one stops to think about how it’s built, why the water fills to the right level, or exactly what happens after you press the flush button or pull the flush handle. But as soon as the drain starts leaking, the water begins to gurgle constantly, or the tank stops filling as usual, a very practical question arises: how does the toilet flush, and can you fix it yourself?
This approach works, but only under one condition: you need to understand which parts are responsible for flushing, which internal components are considered consumables, why the valves wear out, and how to replace them without damaging the entire system. Simply wanting to repair the tank isn’t enough. You need tools, the right replacement parts, and experience. If you don’t have them, it’s easier, faster, and more reliable to call a professional plumber.
What Does a Toilet Tank Do?
Once you understand how the toilet tank works, it’s easier to distinguish between a normal low water pressure and a problem with the water level, a worn-out float, or a faulty fill valve. Here’s how it works: the water for flushing doesn’t flow directly into the bowl from the pipe. First, it fills to the required level in a special tank, where it’s held back by a closed flapper. Then, when you press the button or pull the handle, it rushes down into the bowl.
Normally, a toilet’s flush system goes through the same cycle: water is released, the drain opening closes, the tank refills, and the water flow stops. If a component fails to function properly at any stage, the entire process is affected. The flush becomes weaker, water continues to leak into the bowl, or the noise after filling doesn’t stop.
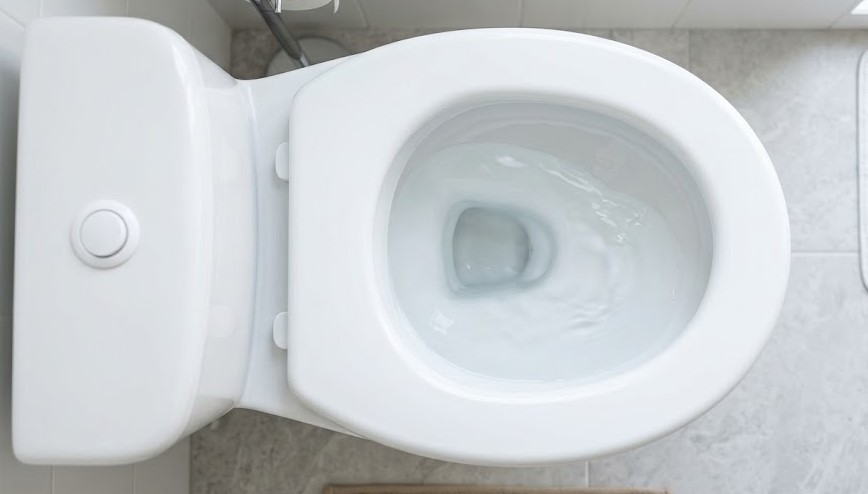
Main Parts Inside a Toilet Tank
If you remove the lid, there aren’t that many components inside, but each one comes into play at a specific moment:
- The fill valve supplies water after flushing;
- The float monitors the water level;
- The flapper opens the drain valve;
- The overflow tube prevents overflow;
- The button or handle initiates the entire cycle.
The main parts of a toilet tank are easier to understand not by their appearance, but by the function they perform; during a flush, they work as a coordinated system. You press the button—the flapper lifts, water flows into the bowl, then the fill valve reopens the water supply, the float reaches the desired level, and stops the fill.
And if any of the toilet tank components “malfunction,” it’s quickly noticeable: the flush becomes weaker, it takes too long for the tank to fill, or water continues to leak after the flush is complete.
Fill Valve
Repairs to a toilet tank often start with the fill valve. It’s responsible for supplying water after a flush and must stop the fill cycle in time once the water level reaches the normal mark. If the valve sticks, gets clogged, or fails to shut off the water tightly, the tank will run longer than usual, fill too slowly, or continue to let water in even after the cycle has ended.
Sometimes, it’s enough to simply clean or adjust the toilet fill valve. But if the seal is worn out, the housing is damaged, or the mechanism operates erratically, a repair is usually only a temporary fix. In such cases, it’s easier, faster, and often cheaper to replace the entire part than to face the same problem again in a few weeks.
Flapper Valve
The flapper acts as a movable seal over the drain opening. As long as it sits tightly in place, the water remains inside. When the flush button or handle is pressed, the toilet flush valve opens, the water quickly drains into the bowl, and then the flapper drops back down to seal the opening.
Most often, this part begins to fail due to worn rubber, mineral buildup, or misalignment after installation. If the edge has lost its shape or doesn’t seal properly, the toilet flush valve no longer holds water as it should. As a result, the toilet may leak after flushing, periodically refill with water, or flush less forcefully than usual.
Overflow Tube
When the water level rises above normal, the excess water must drain into the bowl rather than over the rim of the tank. In the flushing system, the toilet’s overflow tube is responsible for this: it takes in water when the fill mechanism fails and helps prevent overflow.
Inside the toilet tank, this component is usually located next to the flush valve assembly. A constant, thin stream of water flowing through the top opening indicates that the system is filling with too much water: the float is set too high, the fill valve isn’t closing completely, or it’s time to replace it.
Float mechanism
If the tank takes too long to fill, stops filling earlier than usual, or doesn’t stop filling at all, the first thing to check is the float. This component determines when the water supply should stop, and in essence, the normal operation of the toilet tank depends on it: there must be enough water for flushing, but not so much that it overflows.
It works simply. As the water rises, the float rises with it, and then, via a lever or a built-in assembly, closes the fill valve. If the float catches on the wall, sits too low, is raised too high, or doesn’t move properly, the entire toilet tank mechanism begins to malfunction: the flush becomes weak, the fill cycle doesn’t stop, or water continues to trickle into the bowl.
How the Toilet Flushing Process Works
It might seem simple: you press the button—the water flows—and it flushes. But behind this “simplicity” lies the sequential operation of the entire mechanism:
Activating the Flush
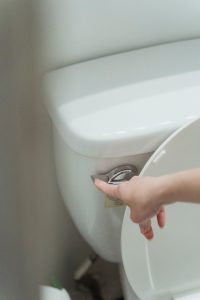
The flush doesn’t start with water, but with the movement of the button or handle. Pressing it transfers force to an internal lever, which pulls the flapper upward. At that moment, the drain valve opens—the valve that had previously kept the water inside the tank.
What matters here isn’t the force of the press, but the connection between the button, the lever, and the flapper. If the linkage has come loose, is sticking, or only partially lifts the flapper, the water won’t drain completely. On the surface, it looks simple: you pressed the button, but the flush was weak, short, or didn’t work at all.
Water Leaving the Tank
Once the flapper has lifted, the volume and speed of the water determine what happens next: the water does not drain from the tank slowly, but rather in a single, powerful surge. This creates the necessary movement in the bowl: the water carries away the waste and directs it into the drain pipe.
If something obstructs the flow at this stage, the flush loses its power. The cause could be a low water level, deposits around the edge of the drain opening, a warped flapper, or a part that doesn’t open all the way. From the outside, it looks like a typical weak flush, but the problem often originates inside the mechanism itself.
Refilling the Tank
After flushing, the water must refill to the operating level. The toilet’s fill valve is responsible for this: it opens the water supply while the tank is empty and closes it when the float reaches the desired level. If the valve is working properly, the refill occurs smoothly, without prolonged noise, overflow, or constant water replenishment.
At this stage, the toilet tank mechanism returns to its initial state. The flapper has already closed the drain opening; the water gradually rises, the float moves upward, and stops the water flow. If the noise does not stop after filling or the water level varies each time, it means the cycle did not complete properly.
Common Toilet Tank Problems
Problems with the toilet tank are usually not noticed right away. This is mainly due to changes in the toilet’s “behavior.” It’s worth noting that virtually all common problems with toilet tanks begin while the mechanism is still functioning.
Therefore, troubleshooting a toilet tank starts with identifying the exact moment the malfunction occurs:
- Water does not fill to the desired level;
- The water supply does not shut off after filling;
- The flapper does not seal the drain opening properly;
- The float is set too high or too low;
- The flush handle or pull chain does not lift the flapper completely.
Based on these signs, you can already figure out where to look for the cause. Sometimes an adjustment or cleaning is enough, but if the valves are worn out, the rubber seals are old, or the problem keeps recurring, it’s best not to turn the repair into a series of DIY experiments.
Toilet Keeps Running
If water is constantly running in the toilet, the problem is most often related to the flapper, the float, or the fill valve. Water may be trickling into the bowl, causing the tank to refill again and again to make up for the loss. Sometimes this is barely audible, but the mechanism is still running nonstop and wasting water.
The first step in fixing a constantly running toilet is a simple check: does the drain hole close tightly, is the float set too high, and does the valve stop the flow after the tank fills? If the flap is warped, the valve isn’t holding water, or the setting keeps slipping back after adjustment, it’s better to replace the faulty part rather than try to reset it to its proper position every time.
Weak or Incomplete Flushes
A weak flush isn’t always caused by a clog in the pipe. Often, problems with the toilet flush originate higher up: the tank isn’t filling with enough water, the flapper isn’t opening fully, or the water flow into the bowl lacks the necessary force. As a result, the water appears to be moving, but there isn’t enough of it to properly clean the bowl in a single cycle.
In this situation, it’s best to start repairing the toilet tank by checking the water level, the position of the float, and the condition of the flush valve. If the level is below normal, the flow will be weak even if the bowl is in good working order. If the flush valve closes too quickly or sticks, some water remains inside, resulting in a short flush.
Constant Refilling or Water Waste
If the toilet keeps refilling with water over and over again after filling, it means there’s a leak somewhere inside or the water level setting is off. For the mechanism, this means constant operation without a normal pause, and consequently—increased wear and tear and the need for a toilet tank repair soon.
Normally, the toilet’s plumbing system should complete a cycle and stop: the water fills up, the valve closes, and the flapper holds the volume until the next flush. If water escapes through a leaky flapper or overflow, the tank is forced to refill. This results in unnecessary water waste, as well as accelerated wear and tear on the valves and seals.
Signs That Toilet Tank Components Need Replacing
If noise, leaks, or a weak flush return after cleaning and adjustment, you need to diagnose the toilet tank’s malfunctions. This will reveal which part is no longer holding its setting: the flapper, valve, float, rod, or gasket.
When rubber has lost its shape, plastic has cracked, the flush button sinks in, or water is flowing back into the bowl, toilet repairs shouldn’t be limited to just another adjustment. It’s easier to replace a worn-out part.
Basic Toilet Tank Maintenance Tips
Regular maintenance of a toilet tank starts with simple checks: every few months, remove the lid, check the water level, and make sure the flapper closes tightly and the float moves freely.
If the toilet’s plumbing system is already making noise, leaking, or taking longer than usual to fill, maintenance won’t replace a repair. However, regular inspections help you spot wear and tear early, before the problem becomes more costly.
When to Call a Professional Plumber
Do-it-yourself checks are appropriate if you need to adjust the float, remove mineral deposits, or replace a simple valve. But if water is constantly leaking, the valve isn’t shutting off the flow, or the flush keeps malfunctioning after adjustment, it’s best not to delay: in these cases, professional toilet repair is needed.
This is especially important when the problem keeps recurring or it’s unclear which part is at fault. In such cases, it’s faster and safer to entrust toilet tank repairs to a plumber: they’ll inspect the entire mechanism, select compatible replacement parts, and avoid damaging adjacent components.
How Pryde Group Can Help with Toilet Repairs
Toilet repair begins with a simple question: exactly where does the cycle go wrong? Water doesn’t fill up, doesn’t stop, flows into the bowl, overflows, or doesn’t flush properly.
A Pryde Group plumber checks the entire mechanism step by step, rather than replacing the first part that comes to hand. To ensure the repair is done correctly, the following steps are taken:
- Diagnosing the tank, drain, and water supply;
- Replacement of the flapper, valve, float, or seals;
- Repair of leaks inside the tank and around connections;
- Adjustment of the water level;
- Testing the toilet for continuous running after repair.
This type of repair is necessary when you want to fix the problem once and for all, rather than hearing the sound of running water again a week later.